• Home
  • FLAKE
  • FLAKE BLENDS
  • GALLERY
  • About Us
  • Contact Us
  • METALLIC Process
Menu
  • Home
  • FLAKE
  • FLAKE BLENDS
  • GALLERY
  • About Us
  • Contact Us
  • METALLIC Process
A QUICK RUNDOWN

how METALLIC application works:

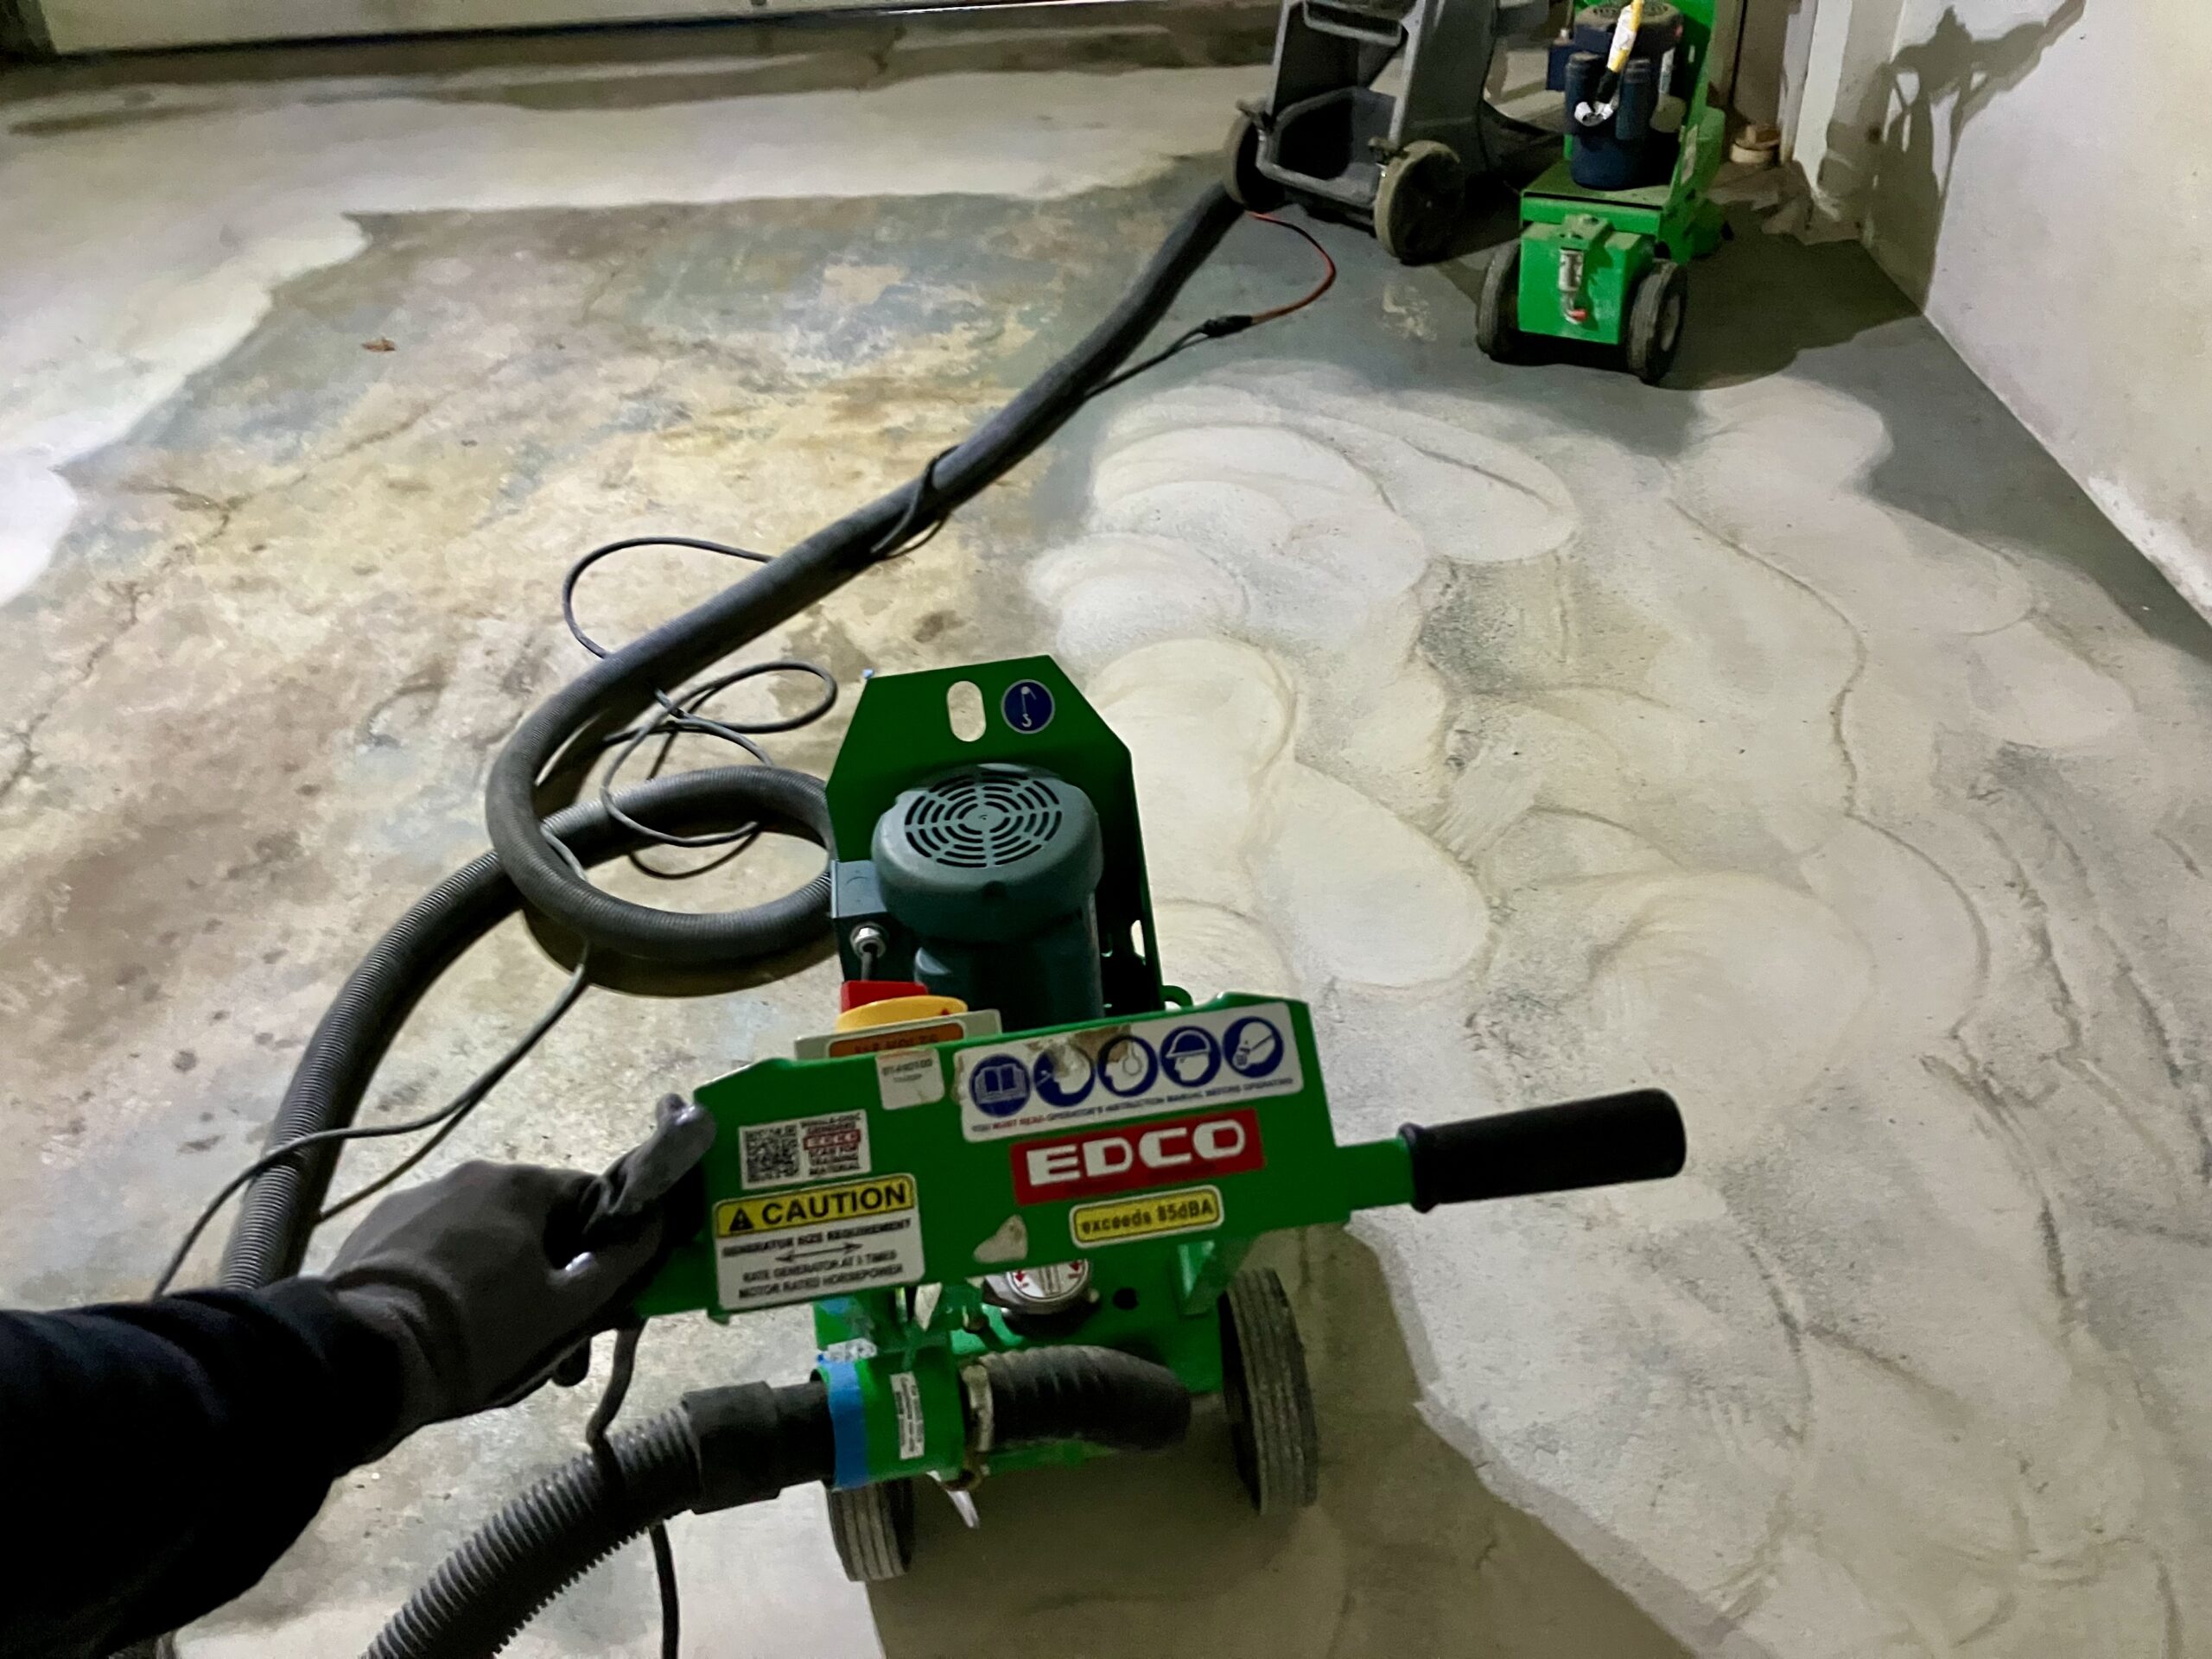
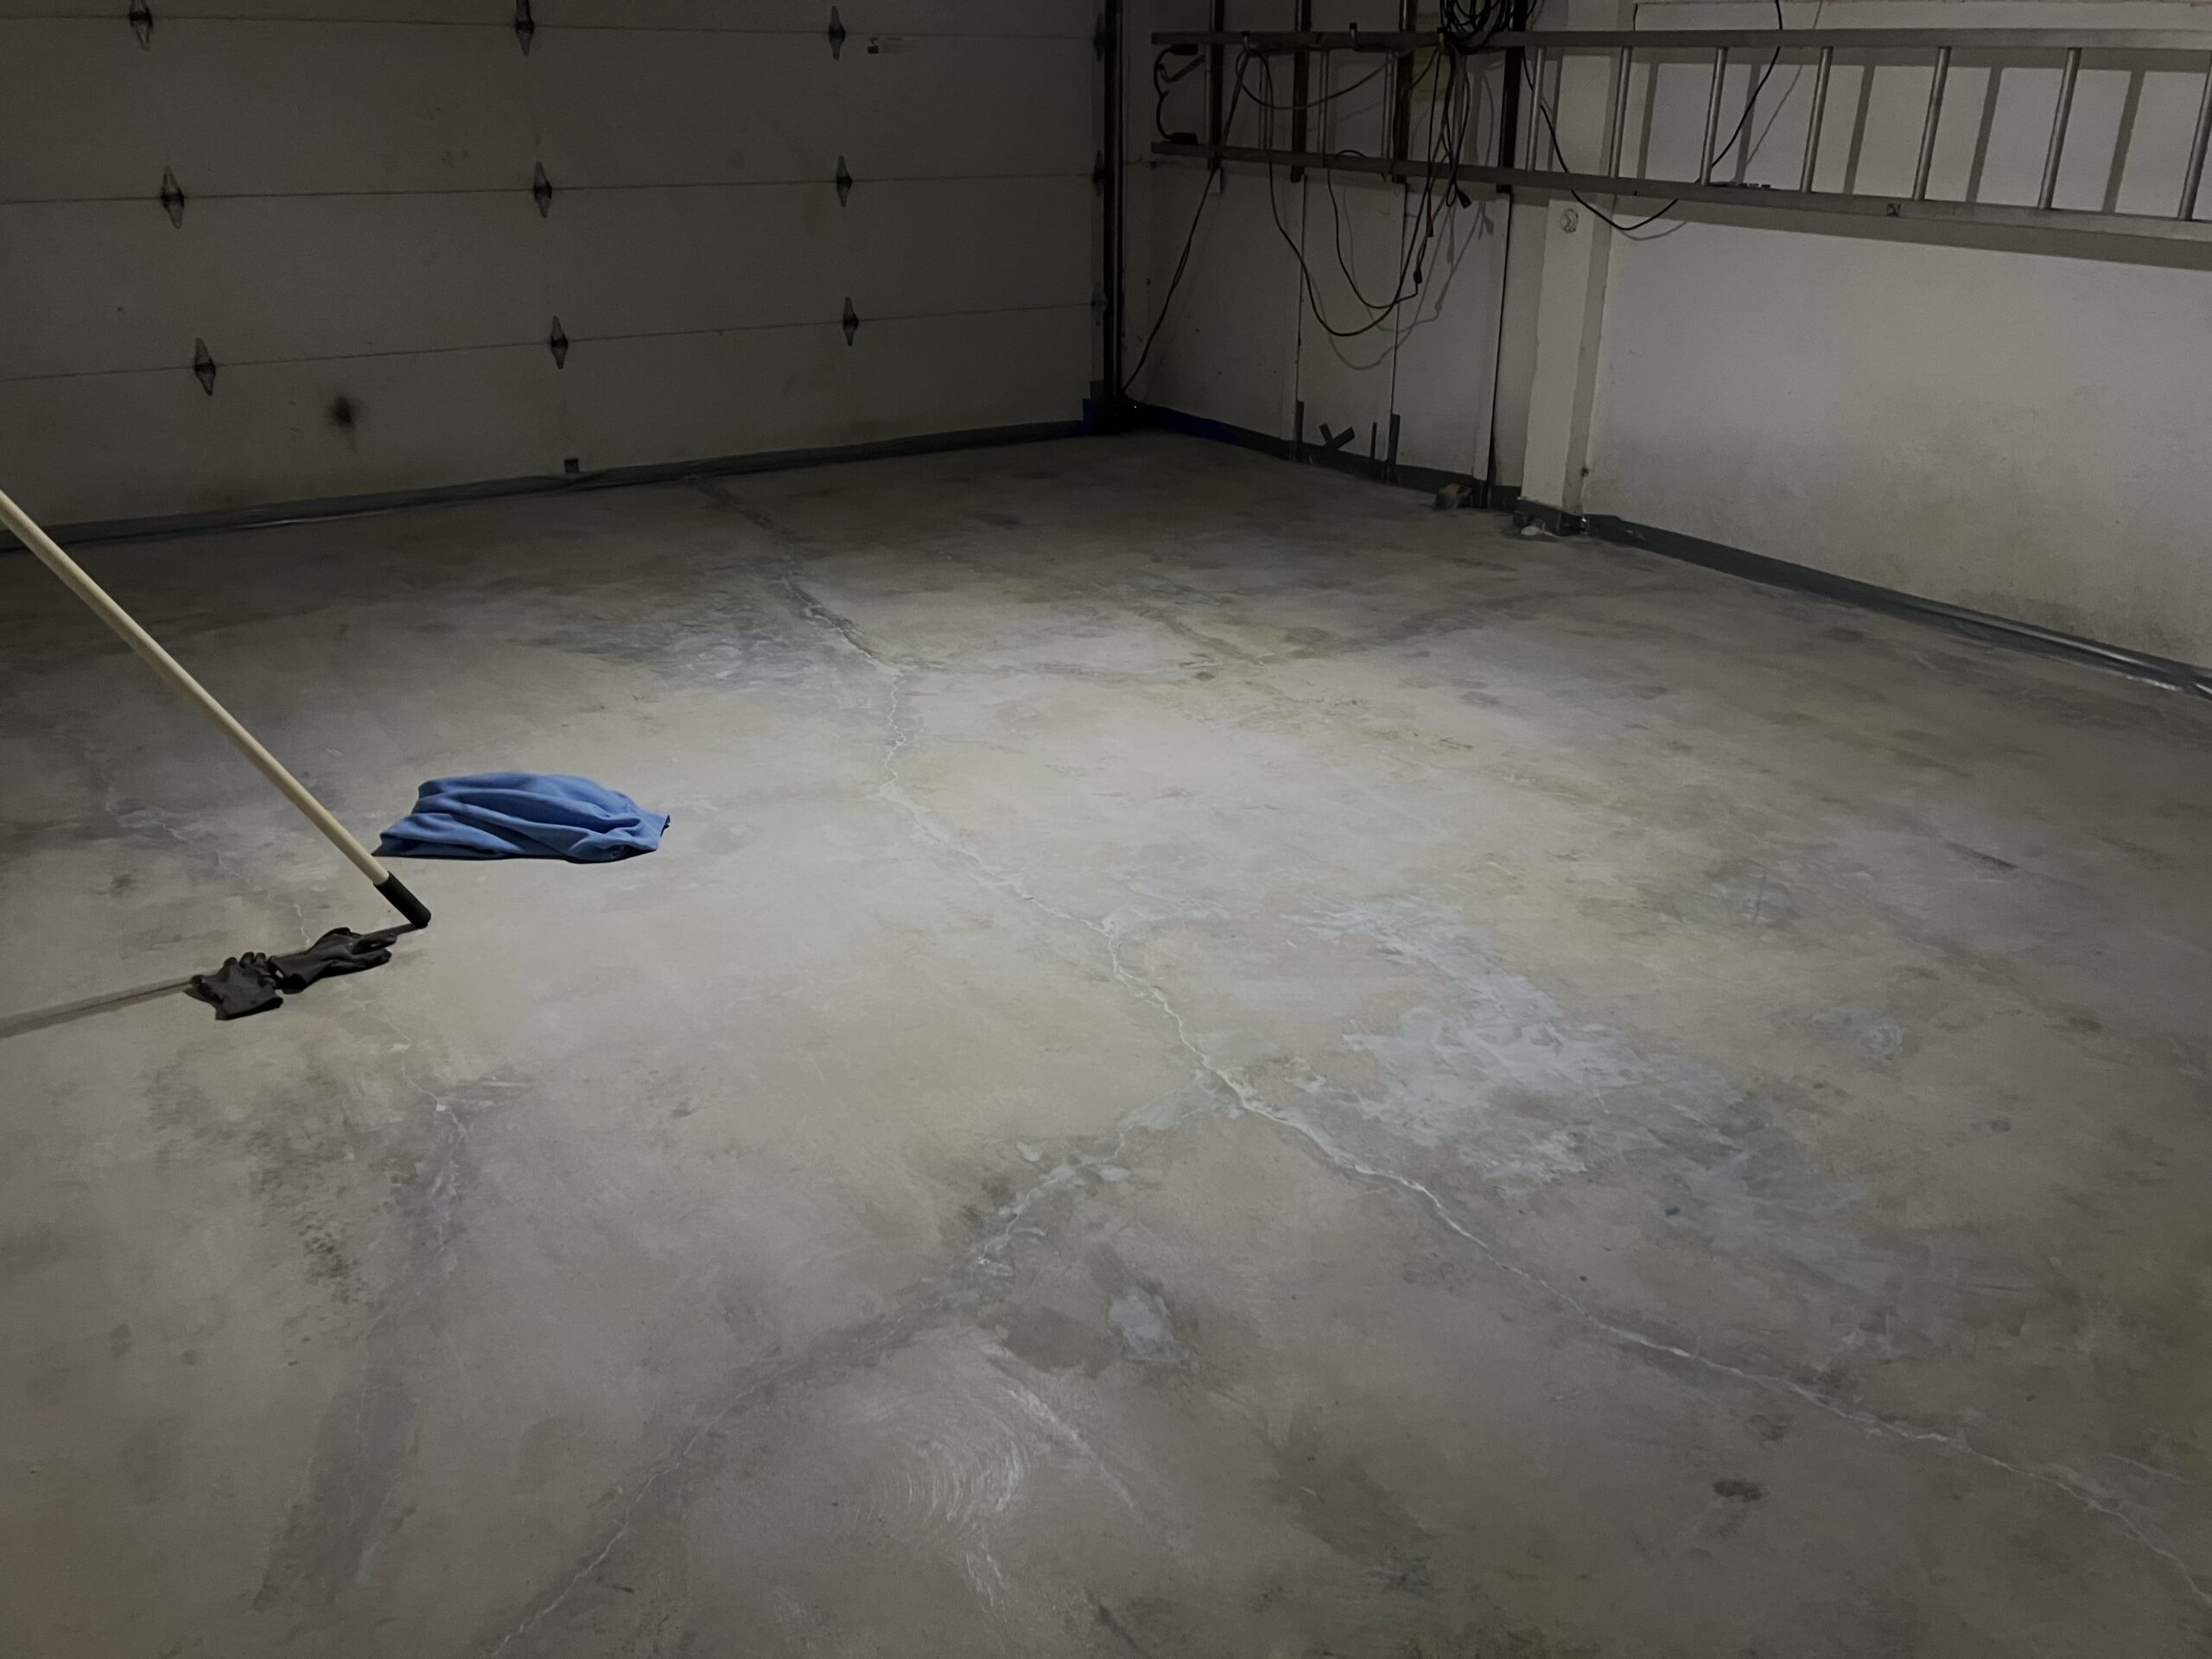
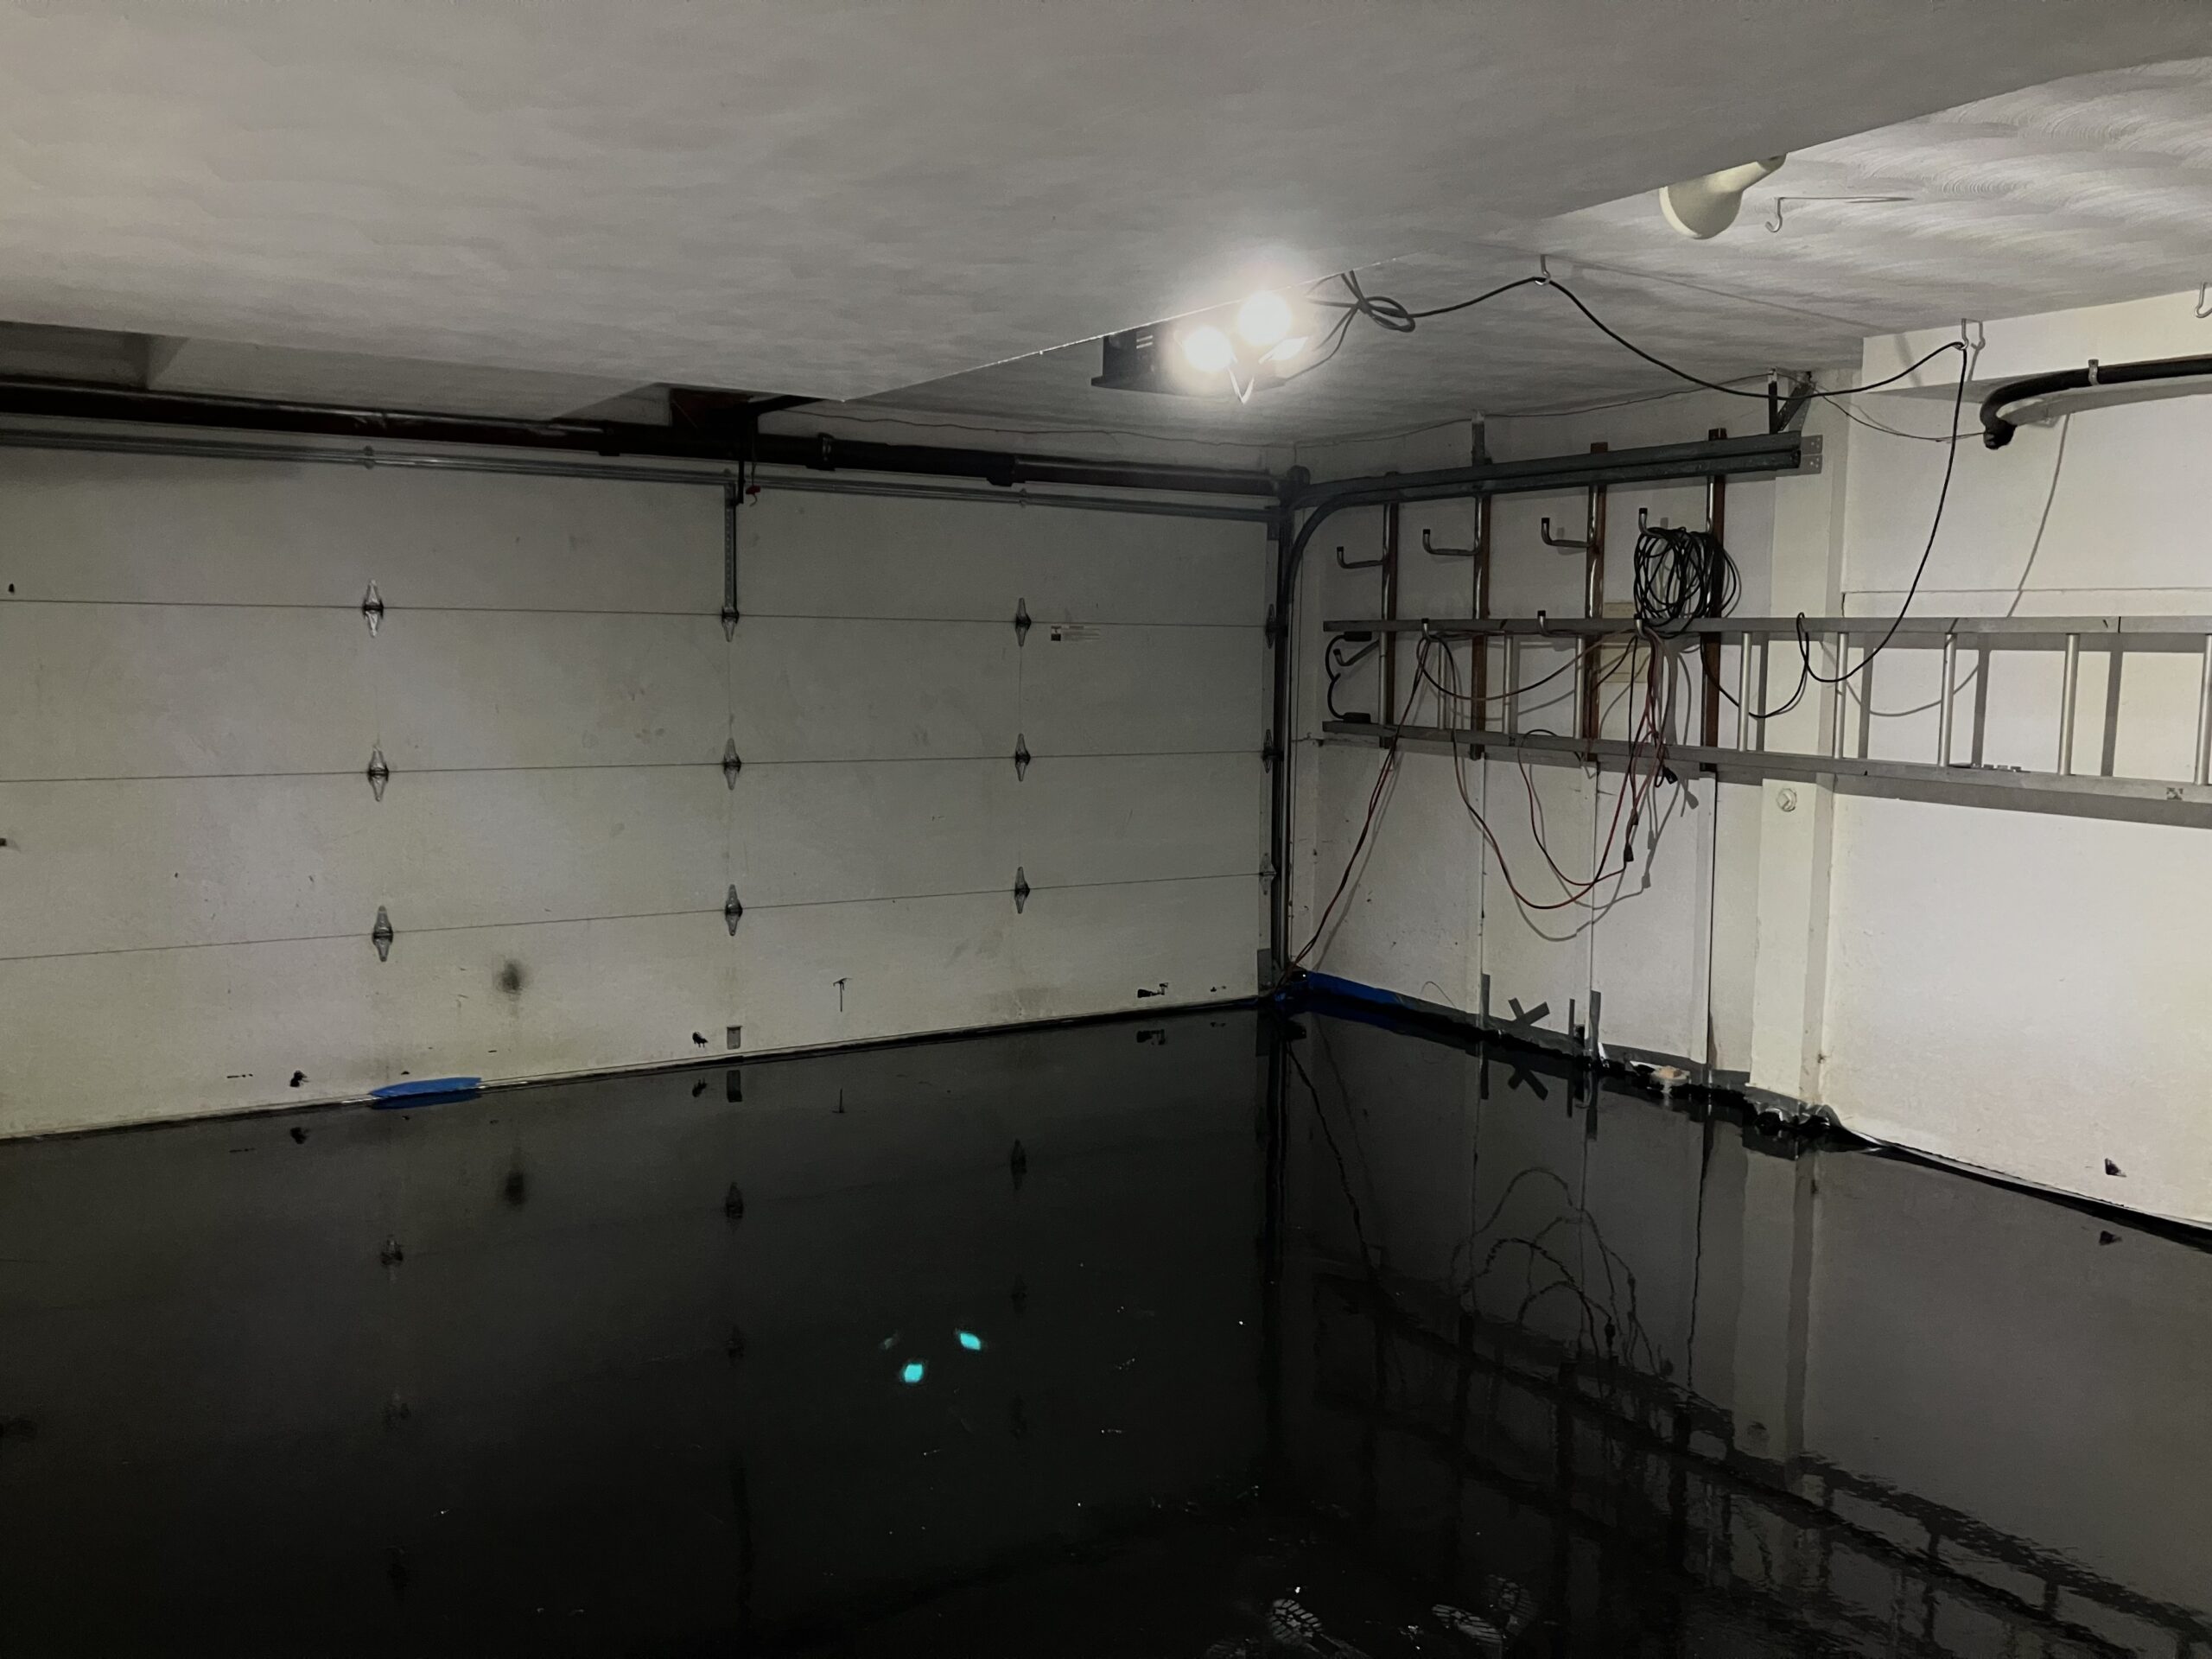
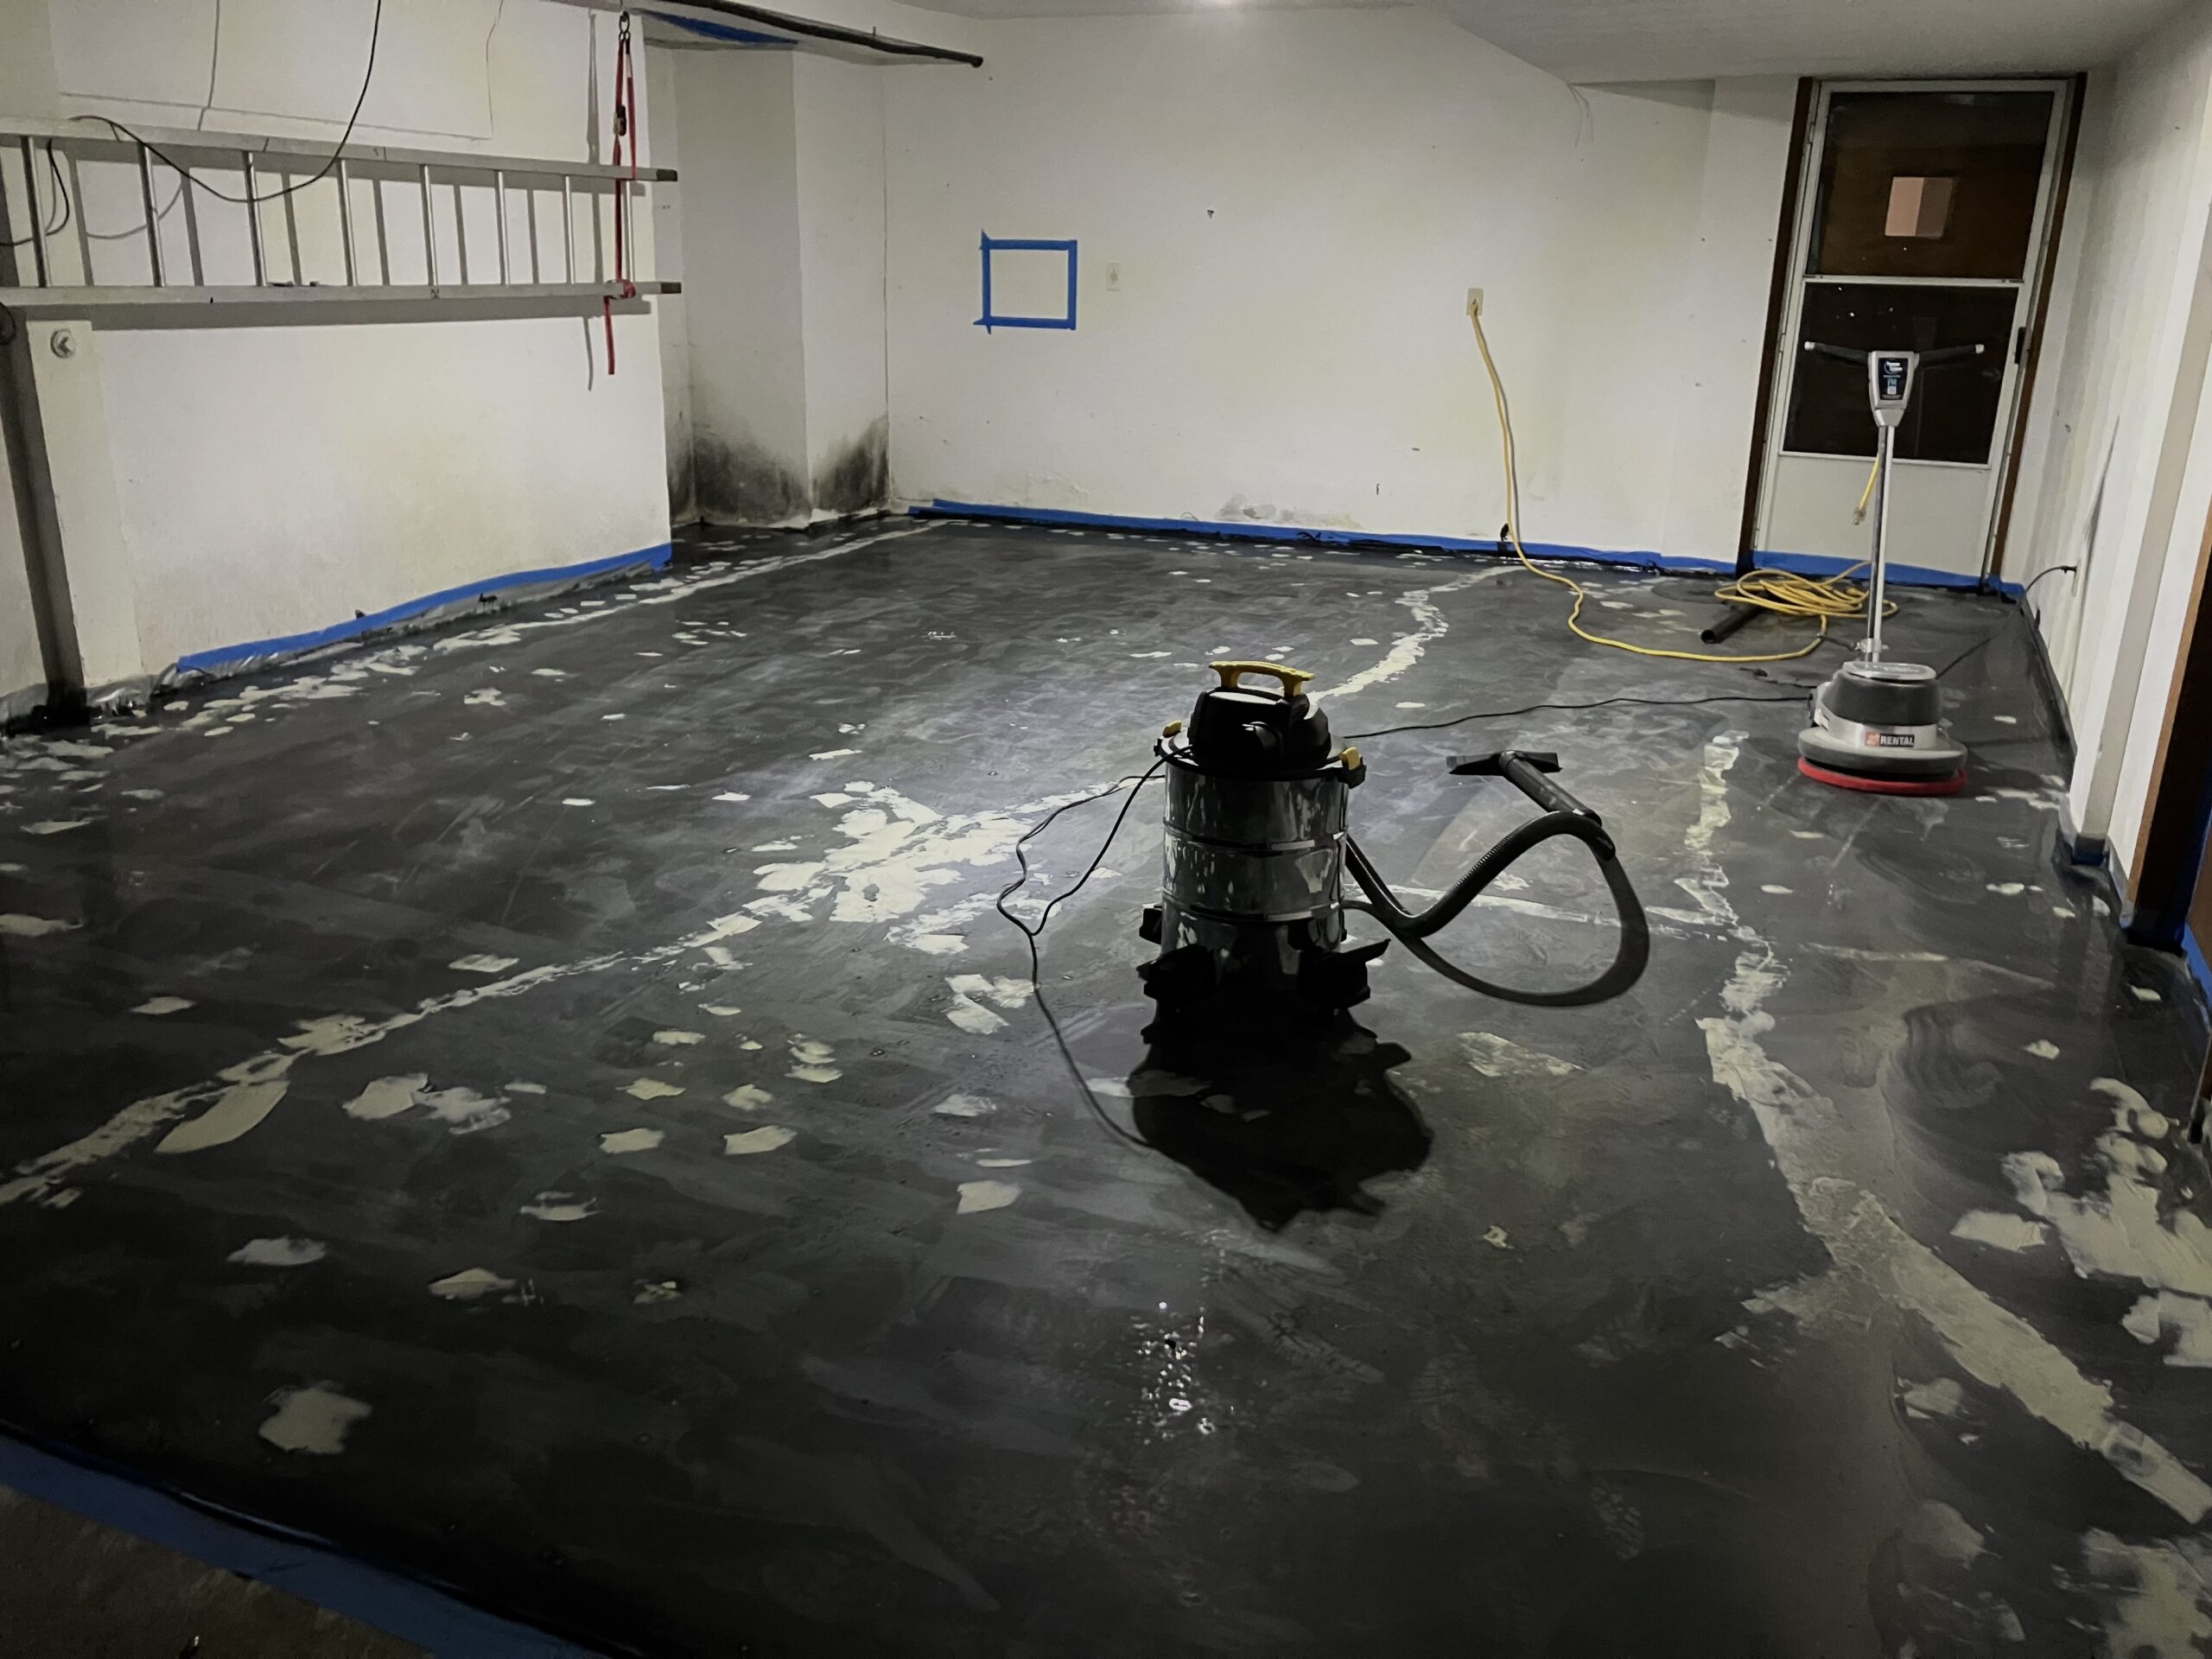
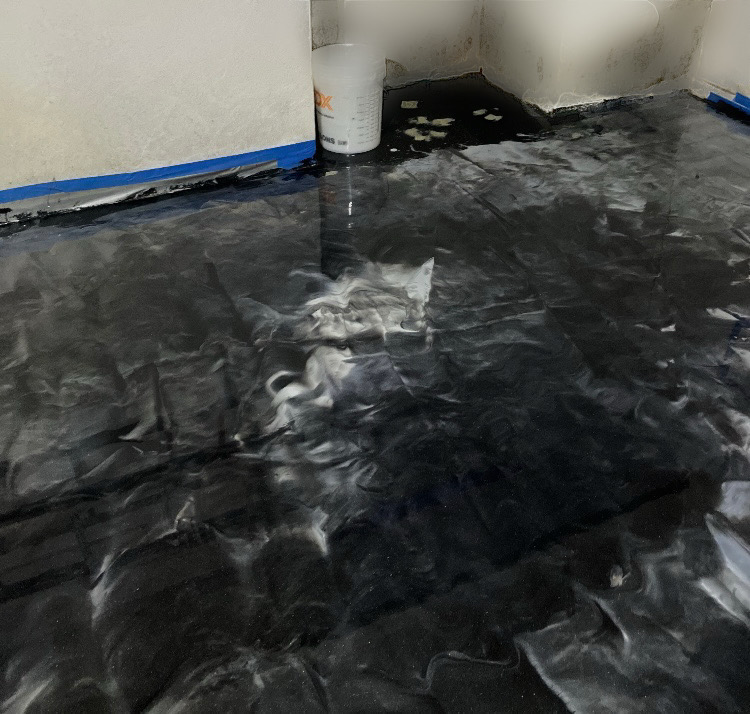
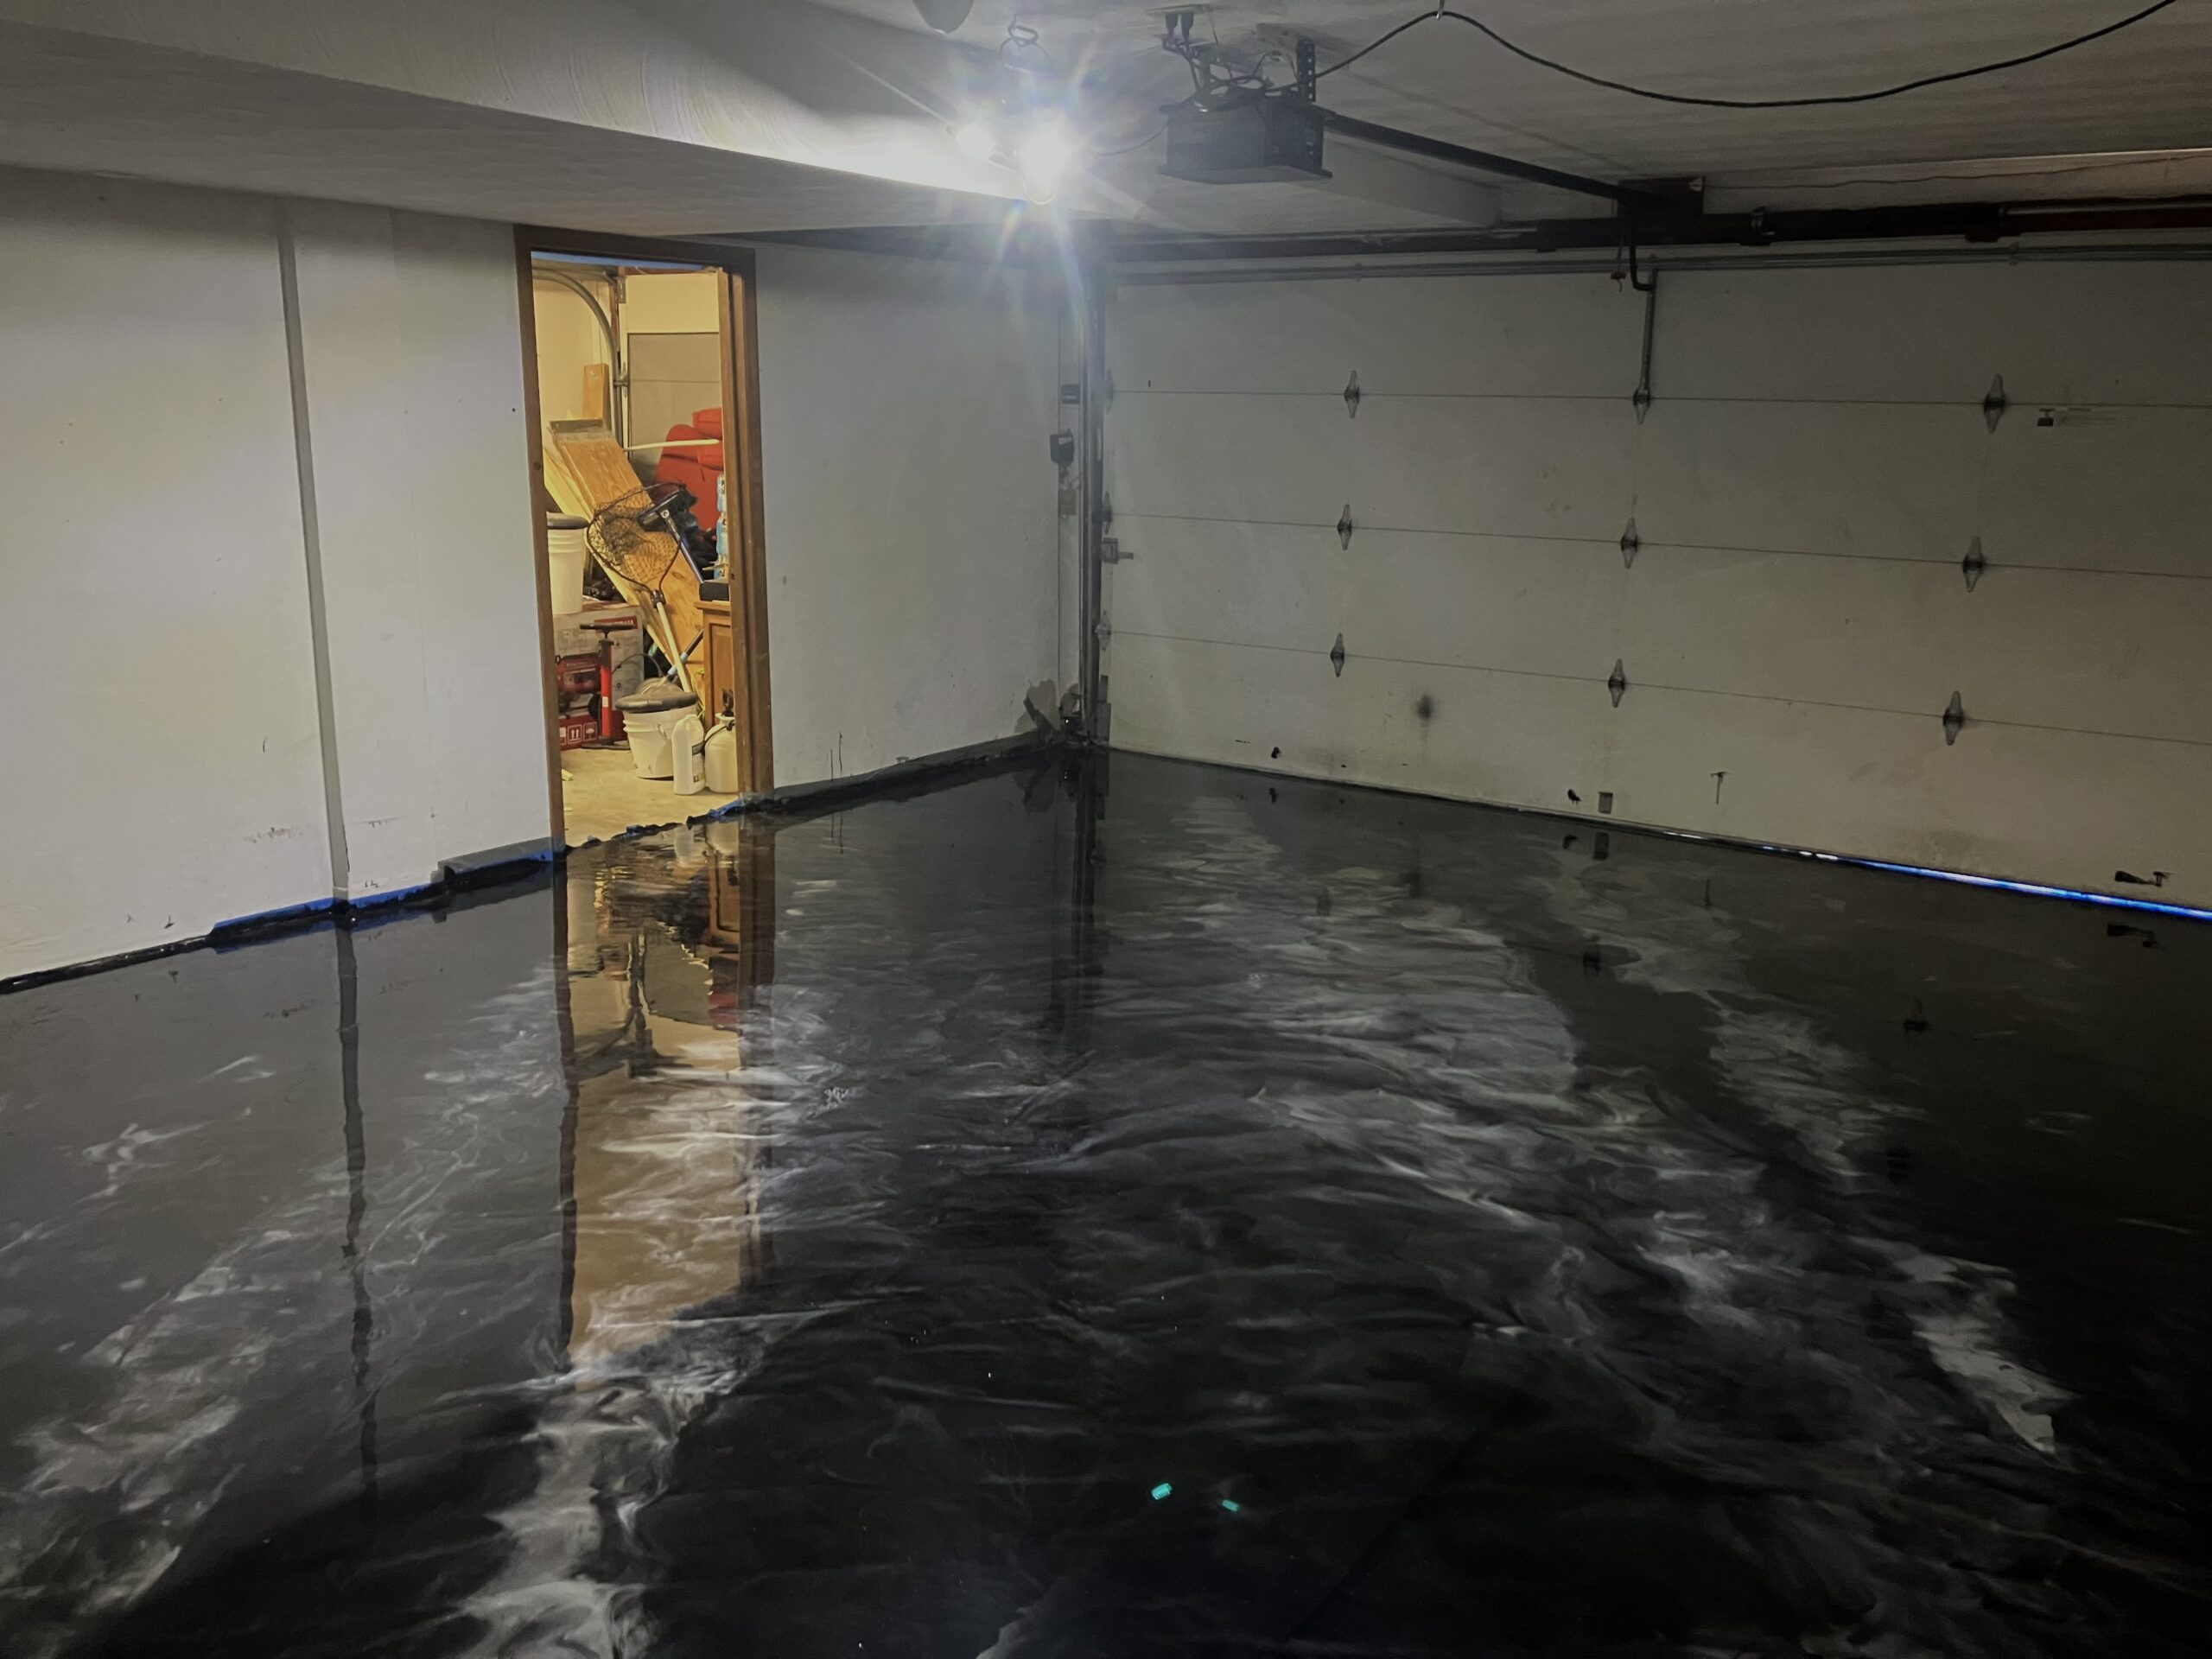
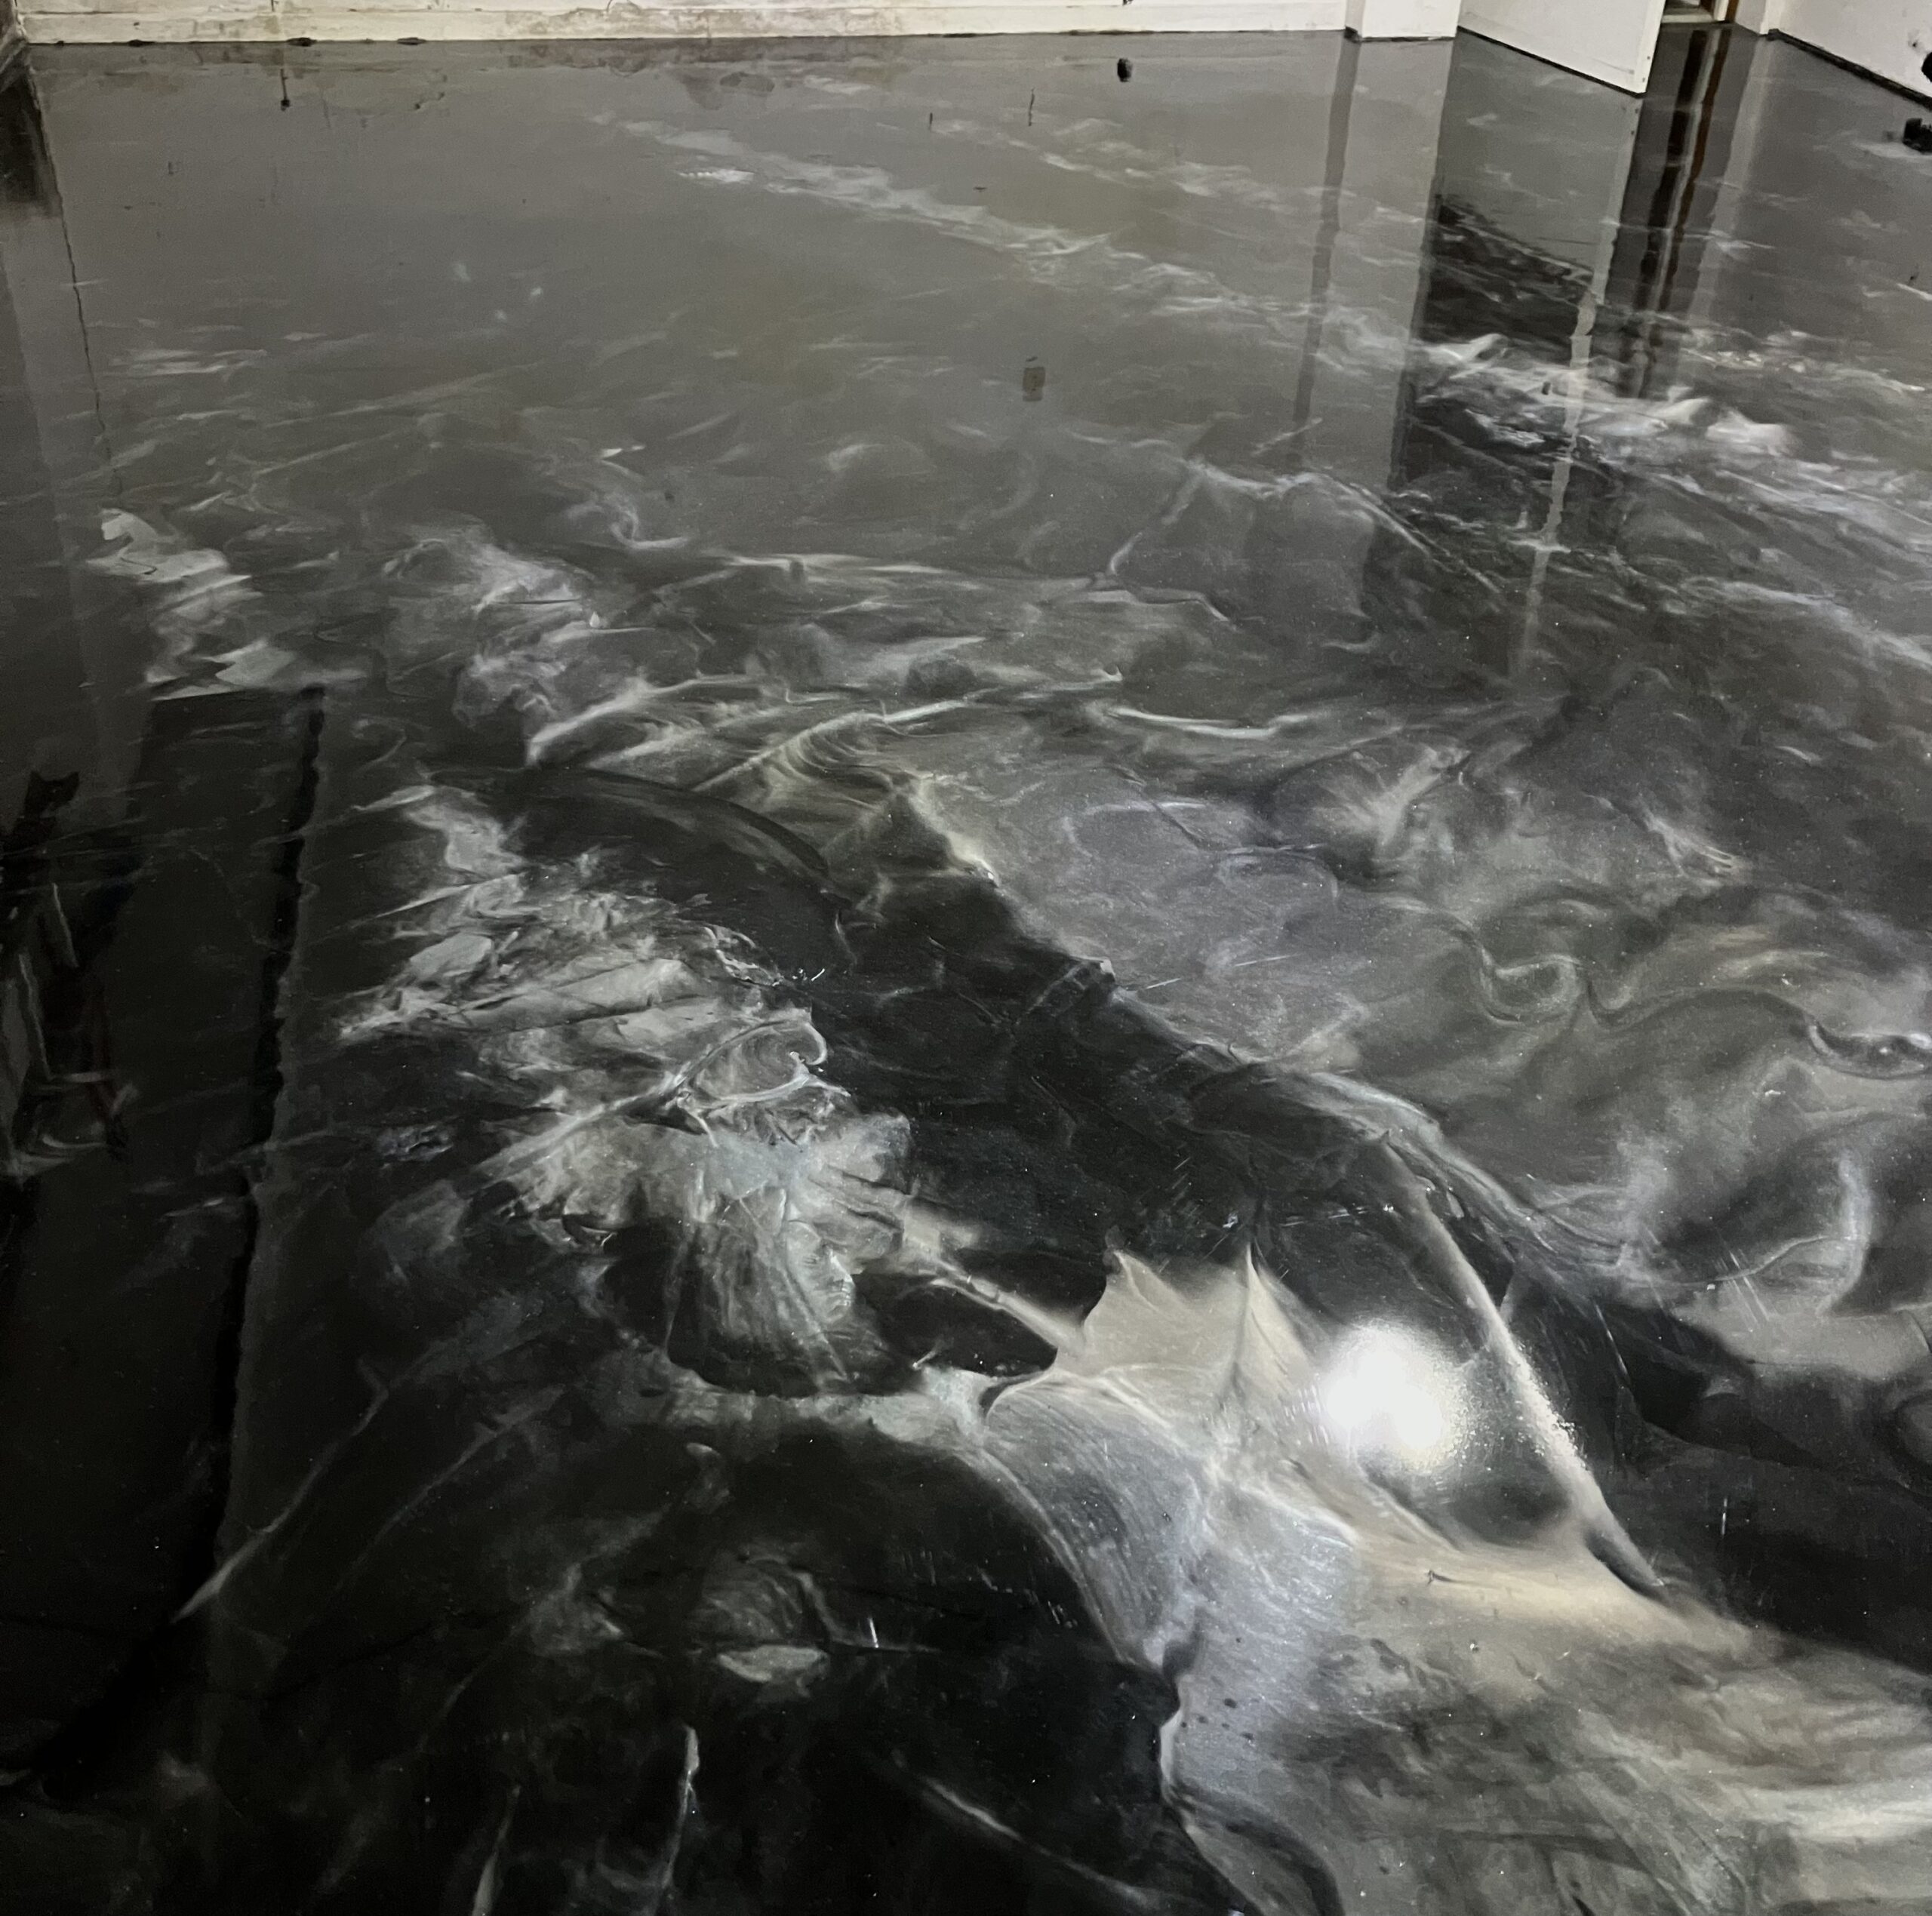
Here are the steps to applying a metallic epoxy floor. We alter them slightly to fit your needs, if you’d like a decal, semi gloss, etc. We like our clients to be familiar with the process before moving forward with installation. 

Step 1: Concrete Grinding

Grinding concrete and hand grinding the edges to create a surface the epoxy can bond to.

Step 2. Patching Compound

Repairing cracks and imperfections in the concrete to ensure a flawless finish.

Step 3: Base Coat Application

Applying a THICK base coat to fix imperfections and create a strong bond/moisture barrier between the concrete and epoxy.

Step 4: Sanding/Re Patching

Sanding down the base coat, hand sanding the edges and re patching it so the metallic coat can have a strong, even bond.

Step 5: Dry/Acetone Mop

Mopping the surface 3X after vacuuming to make sure its completely clean.

Step 6: Pouring Epoxy

Carefully pouring the mixed epoxy onto the prepared surface, ensuring no air bubbles.

Step 7: Squeegee/Roller

We use a trowel squeegee and different sized rollers to spread the materials to corners and edges.

Step 8: Topcoat Application

Applying our 3 LAYER TOPCOAT to give our client the most durable and most glossy finish on the market.
Contact
  • Contact Us
  • Contact Us
Explore
  • Home
  • FLAKE
  • FLAKE BLENDS
  • GALLERY
  • About Us
  • Contact Us
  • METALLIC Process
  • Home
  • FLAKE
  • FLAKE BLENDS
  • GALLERY
  • About Us
  • Contact Us
  • METALLIC Process

© 2025 Audiepoxy. All rights reserved.

Facebook Linkedin